
Installing Halyard#
You need a Shadow subscription and a console that already runs homebrew. Halyard does not jailbreak anything and does not get you a subscription; it is a client for a service you pay for.
⚠️ Before you install: the risk is your account. Connecting with an unofficial client may breach Shadow's terms of service, and they may suspend or terminate your subscription for it. Nobody involved in this project can prevent that, appeal it for you, or compensate you — the licence disclaims all warranty and liability. The full position, including what this client deliberately does not do and where EU law stands on interoperability research, is in
LEGAL.md. Decide with that in hand.
Download#
Every release is on the releases page. The latest one, directly:
- Nintendo Switch —
halyard.nro - PS Vita / PS TV —
halyard.vpk
Each release also carries corresponding-source.tar.gz, the complete source of
those two packages as the GPL requires. The version you are running is in
Settings › About, and on the Switch homebrew menu's entry.
Nintendo Switch#
Requires Atmosphère (or an equivalent CFW) and the homebrew menu.
- Copy
halyard.nroto/switch/on the SD card. - Put the card back, boot into CFW, open the homebrew menu.
- Launch Halyard.
Launch it from the album/homebrew menu with full memory if you can — a title launched through the album applet gets a smaller memory budget, and the hardware decoder wants room. If the picture never appears and the log complains about allocation, that is usually why.
The app creates /switch/halyard/ on first run and keeps its settings, its
token and its logs there.
PS Vita / PS TV#
Requires HENkaku or h-encore, and VitaShell.
- Copy
halyard.vpkto the console (VitaShell's FTP, USB, or a card). - In VitaShell, press ✕ on the
.vpkand confirm the install. - Launch Halyard from LiveArea.
The app creates ux0:data/halyard/ on first run.
Two things are permanently absent on this console: rumble (no such hardware) and gyroscope aiming (not wired to SceMotion). Video is H.264 only — the Vita's decoder does not do HEVC, so the codec choice does not appear in the settings.
Signing in#
The first launch shows a short code, an address and a QR code. Open the address on a phone or a computer (or scan the code), sign in to Shadow, and type the code. The console picks up the session by itself within a few seconds — there is nothing to type on the console. The code expires after a few minutes, counted down on screen; if it does, press A to get a new one.
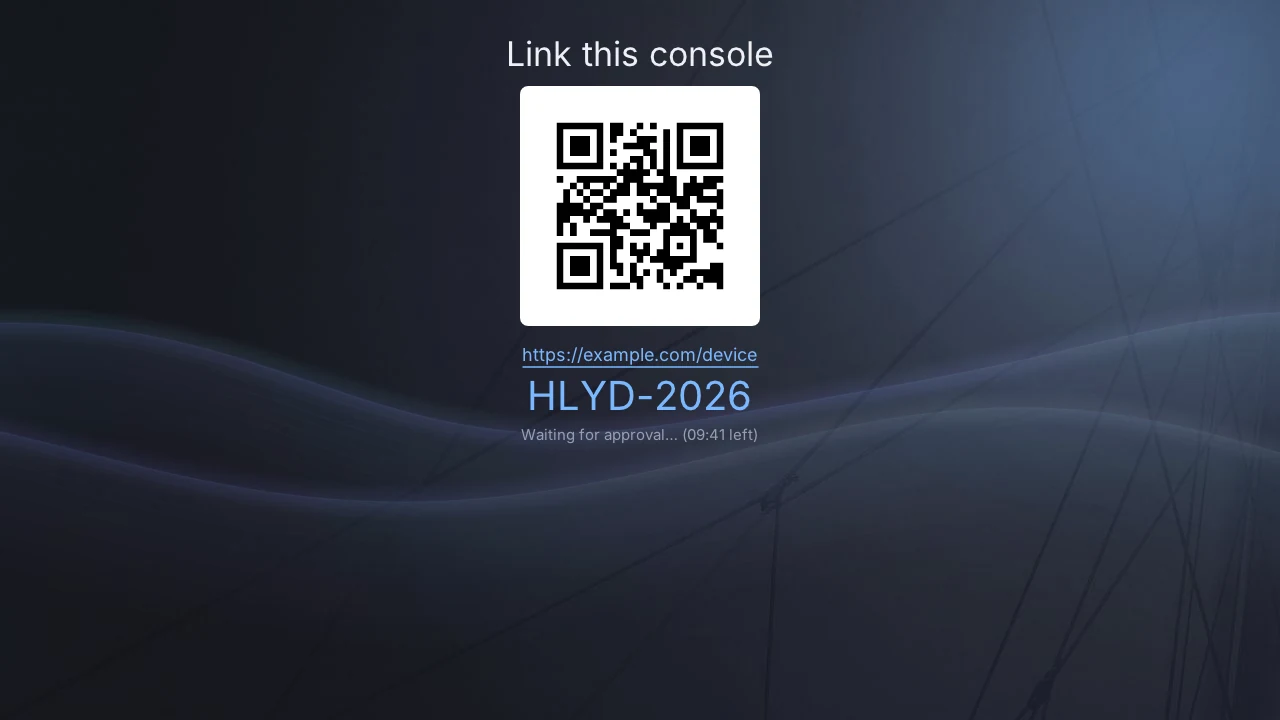
The session is then kept in the data directory so you do not repeat this. It is stored obfuscated, not encrypted: anyone with the SD card can recover it — unless you set an app lock (Settings › Security), which seals it. The lock protects opening the app; the other files beside it stay readable.
To sign out, use Settings › Account › Sign out, or delete refresh_token
from the data directory.
First session#
Pick your machine from the list; it starts if it is not already running.
Then open the pause menu: hold + (Switch) or START (Vita) for half a second. A short press is not the menu — it sends the gamepad's Options button through to the VM, which is usually the game's own menu.
- Cap the bitrate at about 25 Mb/s. Above that the picture breaks up in play — the server probes beyond what the link carries and loses on every probe. This is the single setting most worth changing.
- Check the link quality page if the picture is poor. It reports loss, the round trip and what the path looks like it can carry.
- The performance panel (pause menu › Display) breaks the delay down stage by stage, so you can see whether a problem is the network or the console.
Settings, and the file that beats them#
Settings live in the app and persist in settings.txt. Underneath, each drives
a SHADOW_* variable.
A console passes no environment, so a file does it: env.txt in the data
directory, one KEY=VALUE per line, # for comments. Only keys starting with
SHADOW_ are honoured — the file comes off a memory card and has no business
redefining PATH.
# env.txt
SHADOW_BITRATE_MBPS=25
SHADOW_JOURNAL_NIVEAU=3
env.txt wins over the settings screen. That is deliberate — a test must be
able to impose a value without going through menus — and the app marks
overridden settings on screen so the priority is visible. If what you measure
disagrees with what the screen says, read env.txt first.
Other files the app reads from the same directory:
| File | What it does |
|---|---|
env.txt |
the toggles above |
settings.txt |
what the settings screen saved |
refresh_token |
your session; delete to sign out |
logsink.txt |
host:port to mirror the log to a PC (dev) |
autotest.txt |
chains sessions unattended (dev) |
applock.txt |
the app lock |
Updating#
Download the new release, then replace the .nro, or reinstall the .vpk over
the old one. Settings and your token survive — they are in the data directory,
which the package does not touch.
Coming from shadow-client#
Builds from before 2026-09-13 were named shadow-client and kept their data in
/switch/shadow-client/ (Switch) or ux0:data/shadow-client/ (Vita). Halyard
looks in /switch/halyard/ and ux0:data/halyard/, and never in the old
folder, so on first launch it asks you to sign in again.
To keep your session and settings instead, copy these files from the old folder
to the new one before launching: refresh_token, device.uuid,
settings.txt, and env.txt if you have one. Then delete the old
shadow-client.nro (Switch) or uninstall the old bubble (Vita) — the two apps
are separate entries.
Uninstalling#
Delete the .nro (Switch) or uninstall from LiveArea (Vita), then remove the
data directory to take the token and logs with it.
Learning the rest#
The user guide covers everything
else: the screens, the controls on each console, every setting, and reading the
performance panel. Its pages are also in this repository, under
docs/guide/.
Getting help#
Read halyard.log in the data directory first; it usually names the problem.
The README's troubleshooting section
covers the common ones.
Before attaching a log to an issue, read it. Logs carry session material.
See SECURITY.md.